Set up one table with three clear zones
The easiest setup is a single long table divided into three clearly labeled zones. Give each station its own tools and scrap container so markers, tape and paper pieces stay where they belong. Cover the table with kraft paper or a washable cloth, place finished examples where guests can see them, and keep completed projects on a separate drying or display surface.
Use one chair-free side of the table for supplies and leave the opposite side open for guests. Put one waste bowl between the mask and headband stations for paper scraps. Keep the card station at the far end so wet ink does not travel across the other projects.
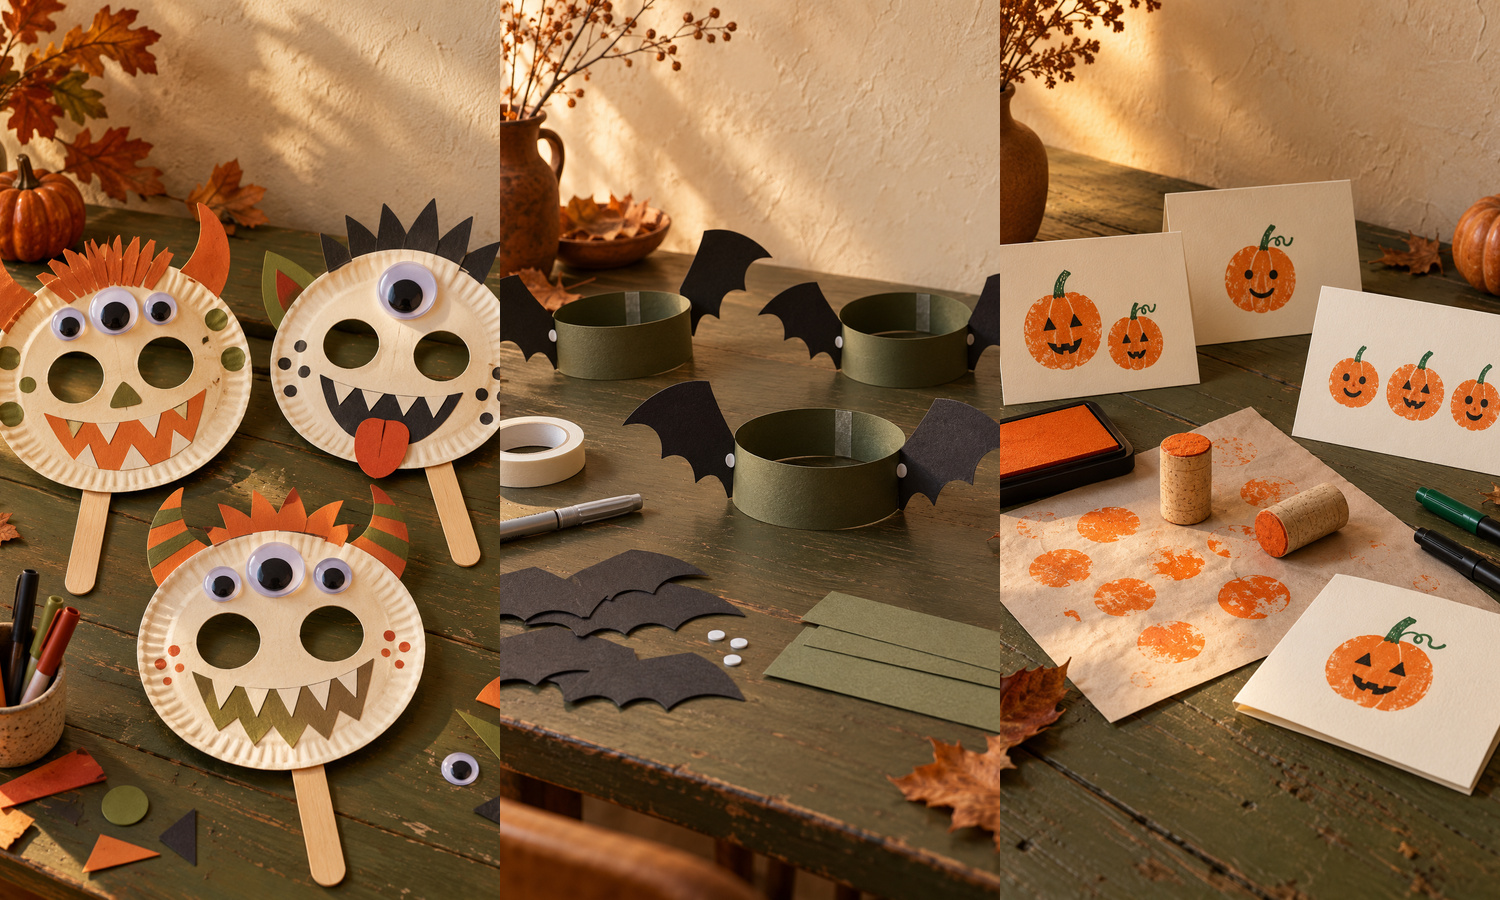
1. Paper-Plate Monster Masks
Makes 6 handheld masks
Supplies
- 6 plain paper plates
- 6 jumbo craft sticks
- 12 large adhesive googly eyes
- 3 sheets colored cardstock
- Washable markers
- Paper-safe tape
Brief instruction: Adult cuts the eye openings; guests color, add features and tape on a handle.
Before guests arrive, an adult should cut two comfortable eye openings in each plate. Cut a small assortment of simple cardstock features too: triangles for teeth, curved horns, round spots and pointed ears. Keeping the pieces broad and uncomplicated makes the station easier to use and reduces tiny scraps.
Let each guest color a plate, add two or more adhesive eyes and arrange cardstock features. Tape a jumbo craft stick securely to the back as a handle. A handheld mask is easier to adjust than one tied around the head, and guests can lower it whenever they need an unobstructed view.
For an orderly station, place the plates in one stack, the pre-cut features in a shallow tray and markers in a sturdy cup. Keep the tape with an adult helper if very young guests are attending. Set finished masks upright in a jar or basket so they become part of the party display.
2. Bat Paper-Headband Bar
Makes 6 adjustable bands
Supplies
- 6 strips dark-olive cardstock, each 2 × 22 inches
- 3 sheets black cardstock
- 1 silver washable marker
- 24 adhesive foam dots
- Paper-safe tape
Brief instruction: Decorate 12 pre-cut wings; attach one pair, then tape each band to fit.
Pre-cut 12 simple bat wings from black cardstock. They do not need to be identical, but each pair should be roughly the same size. Lay out one olive strip, two wings and four foam dots for each guest. This small kit prevents the most popular supplies from disappearing into one corner of the table.
Guests can add dots, stars or short lines to the wings with the silver marker. Attach one wing to each side of the band using two foam dots per wing. An adult can wrap the strip loosely around the guest’s head, mark a comfortable overlap and secure the overlap with paper-safe tape. The band should sit comfortably without covering the eyes or ears.
If several guests are crafting at once, make a finished sample and a flat, unassembled sample. The finished one shows the result, while the flat sample makes the order of the pieces obvious. Keep spare tape and two extra pre-cut wings nearby for quick repairs.
3. Pumpkin-Stamped Cards
Makes 8 folded cards
Supplies
- 8 folded warm-cream cards
- 2 clean wine corks
- 1 orange washable ink pad
- 1 black washable marker
- 1 green washable marker
- Scrap paper
Brief instruction: Stamp orange circles; add stems and faces after the ink dries.
Place a piece of scrap paper under each card and keep the ink pad in the center of the station. Press the flat end of a clean cork lightly into the orange ink, then stamp one or more circles on the card. A second clean cork keeps the activity moving while the first is in use.
Let the orange impressions dry before adding green stems and simple black faces. Guests can make one large pumpkin, a row of tiny pumpkins or a mixed pumpkin patch. The slightly uneven texture of a cork print is part of the handmade look, so there is no need to restamp a circle unless it is almost invisible.
Create a drying area with each guest’s name written on a separate scrap of paper placed beside the card, not on the artwork itself. The finished cards can become party favors, table place cards or notes to send after Halloween.
Keep the shared station practical and safe
For younger children, have an adult handle all cutting and final headband fitting. Choose washable, age-appropriate craft supplies and follow the instructions on their labels. Small items such as googly eyes and foam dots should stay out of reach of children who may put them in their mouths.
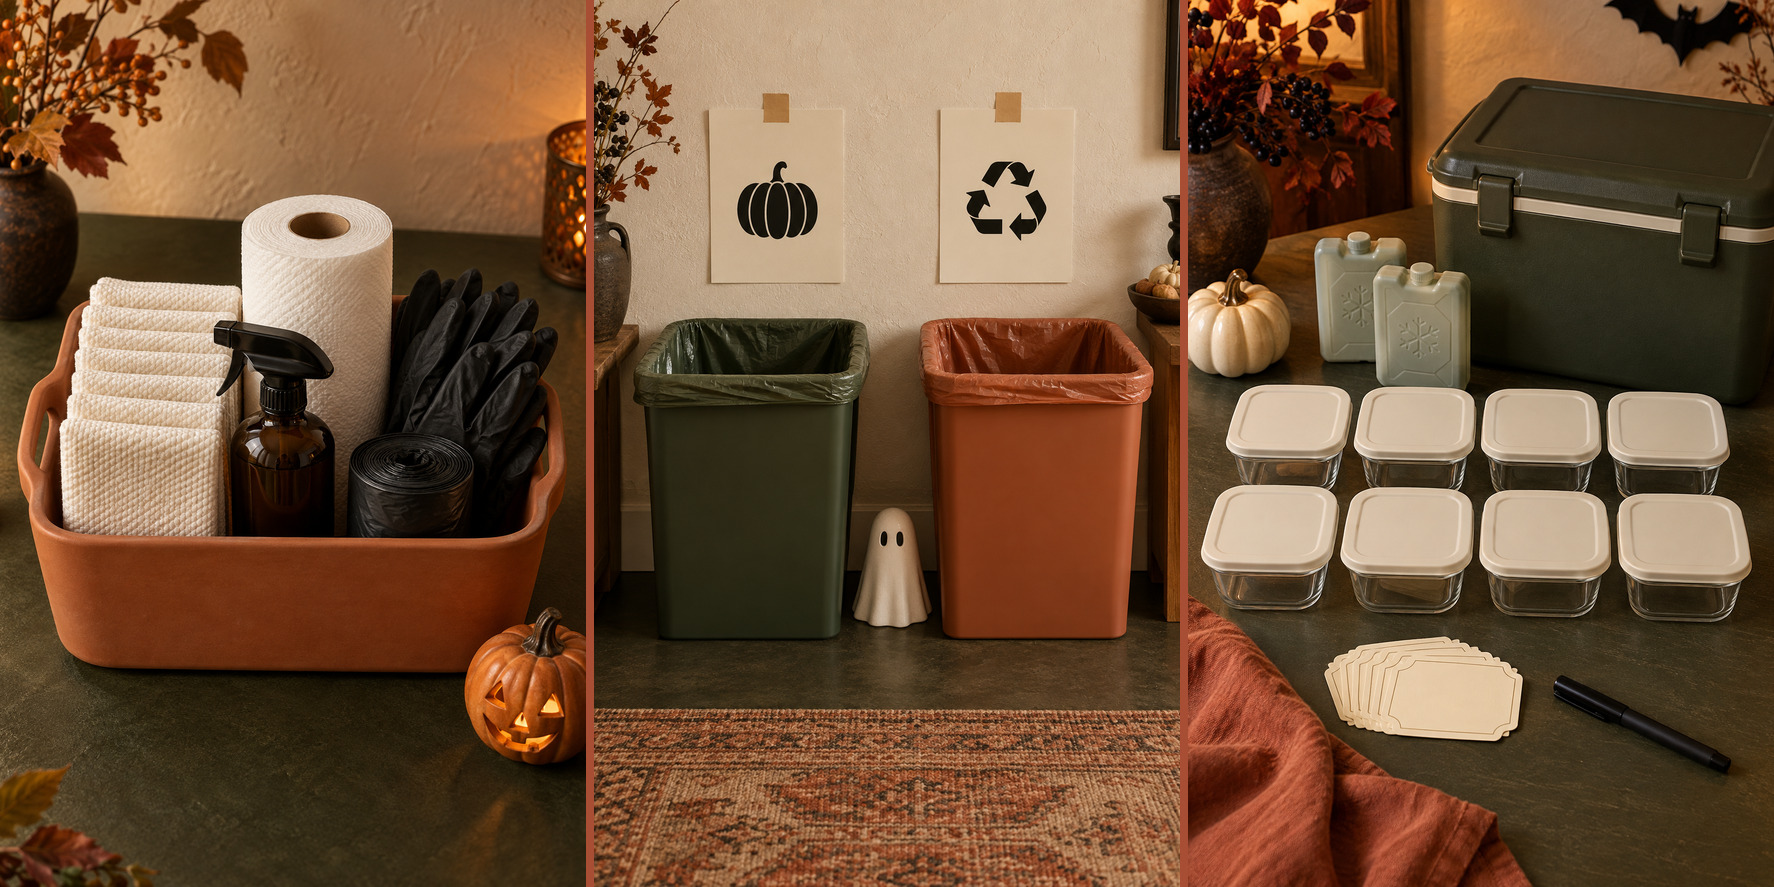
A packet of washable wipes nearby is useful for hands, but keep wipes away from finished paper projects. When the party ends, return reusable markers and tape to one caddy, recycle clean paper offcuts where accepted and let inked cards dry flat.
These three stations work well together because they offer different kinds of making: a playful prop, a wearable accessory and a small paper keepsake. Guests can complete all three or choose the project that suits them best, while the shared warm cream, dark olive and terracotta palette keeps the table looking like one coordinated Fondfolk party.