Turn the party food into an activity with three simple decorating stations: spooky toaster pastries, monster cupcakes and chocolate-dipped pretzel spell wands. Each idea includes the full measured supplies and one short method, so guests can make something playful without a complicated setup.
Build one decorating table with three choices
These activities work side by side because they share the same rhythm: choose a base, add icing or chocolate, then finish with candy eyes or sprinkles. You can make one station for a smaller gathering or prepare all three for a table that gives guests different levels of decorating time.
Some optional equipment and ingredient links in this article are paid links. We may earn a commission from qualifying purchases. As an Amazon Associate, Fondfolk earns from qualifying purchases. Buying new supplies is optional when suitable items you already own can do the job.
Place the three bases on separate trays, then divide icing, frosting, eyes and sprinkles into small bowls. A set of small serving bowls can keep toppings separated, but ordinary food-safe bowls or cups are just as useful. Keep the ingredient packages nearby so guests can check labels before choosing a station.
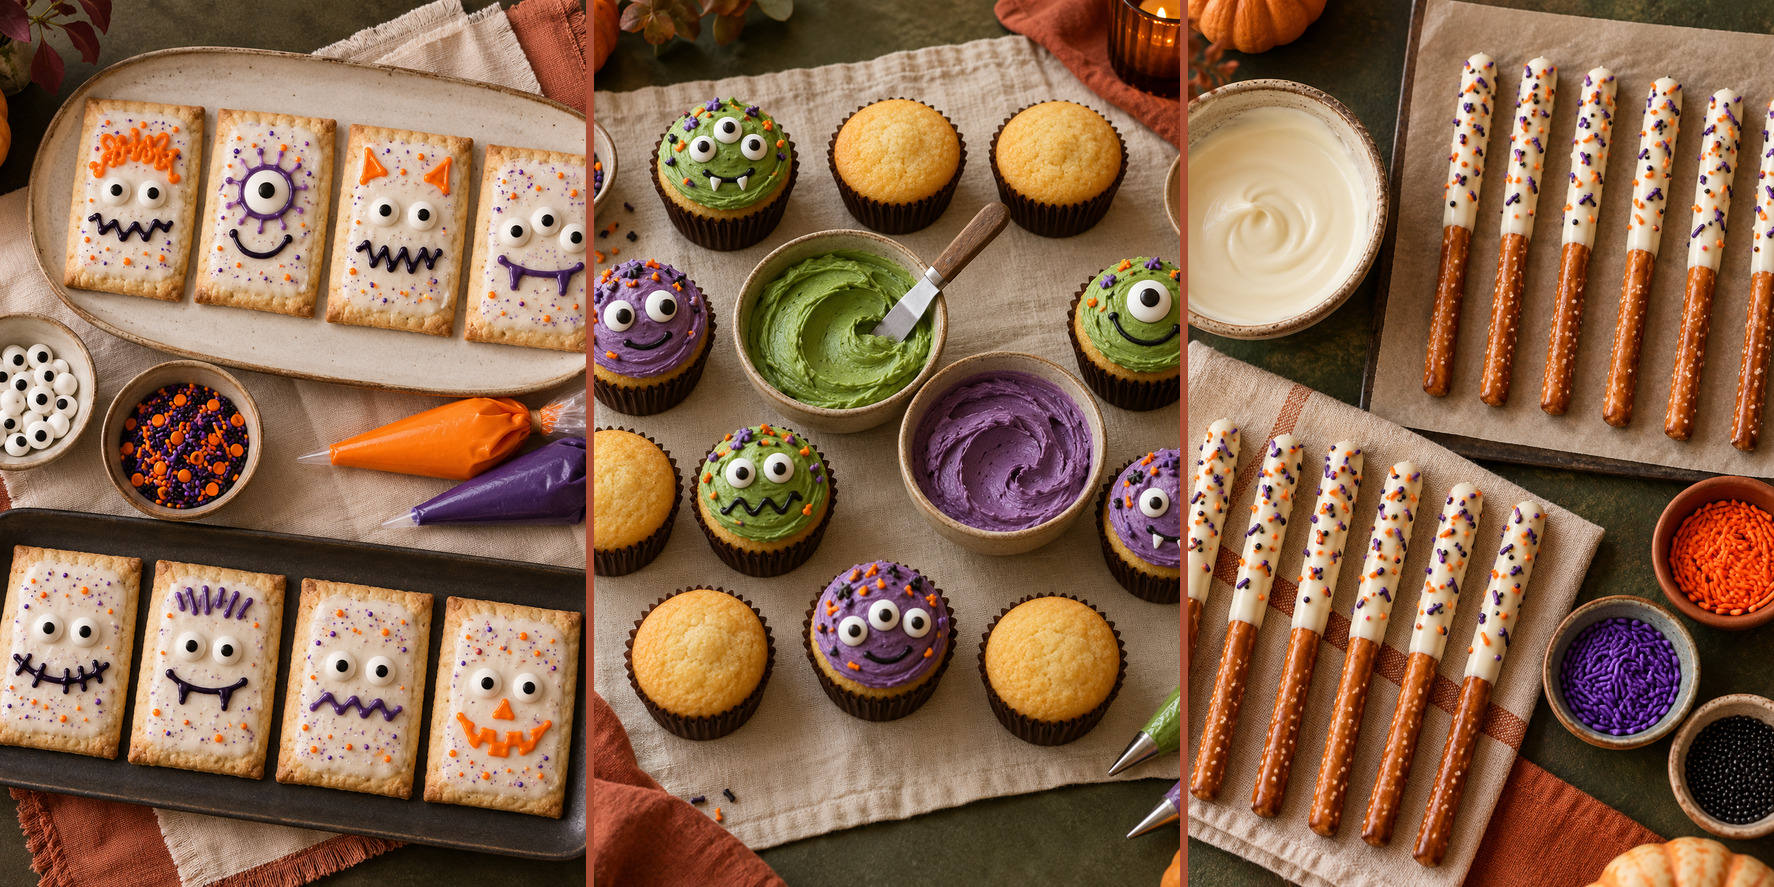
1. Spooky Toaster-Pastry Decorating
Makes 8 · about 15 minutes
Supplies
- 8 plain frosted toaster pastries
- ½ cup orange decorating icing
- ½ cup purple decorating icing
- 2 tbsp edible candy eyes
- 2 tbsp Halloween sprinkles
Quick how-to
Pipe monster faces on the pastries, add candy eyes and sprinkles, then let them stand for 5 minutes before serving or moving them.
Set up the station
Arrange four pastries on each of two trays so several guests can decorate without reaching across one another. Put the orange and purple icing in separate piping bags. If you need bags or tips, compare piping bags and tips; a food-safe zip-top bag with a very small corner snipped also works.
Encourage bold, simple lines rather than tiny details. A zigzag mouth, three short stitches or a ring around one candy eye stays readable after the icing settles. The five-minute rest helps the decorations hold their shape before the pastries go onto a serving platter.
2. Monster Cupcake Workshop
Makes 12 · about 20 minutes
Supplies
- 12 plain vanilla cupcakes, cooled
- 1 cup green frosting
- 1 cup purple frosting
- ¼ cup edible candy eyes
- ⅓ cup Halloween sprinkles
Quick how-to
Frost each cupcake, then add candy eyes and sprinkles to make a monster.
Make the workshop easy to share
Split the cupcakes between two trays and give each frosting color its own spreader. Guests can cover the whole top or make a tall patch of frosting to hold several eyes. If you need the decorating ingredient, browse edible candy eyes and check the package for allergen, storage and age guidance before serving.
Set out only a portion of the toppings at first and refill the bowls when needed. This keeps the main packages clean and makes it easier to reset the station between groups. Keep the cupcakes covered until the activity begins, and follow the frosting label for storage after decorating.
3. Pretzel Spell Wands
Makes 12 · about 30 minutes, including setting
Supplies
- 12 pretzel rods
- 8 oz (225 g) white chocolate, chopped
- ⅓ cup Halloween sprinkles
- Parchment paper
Quick how-to
Dip each pretzel rod halfway in melted white chocolate, add sprinkles, then set it flat on parchment for about 20 minutes.
Keep the chocolate workable
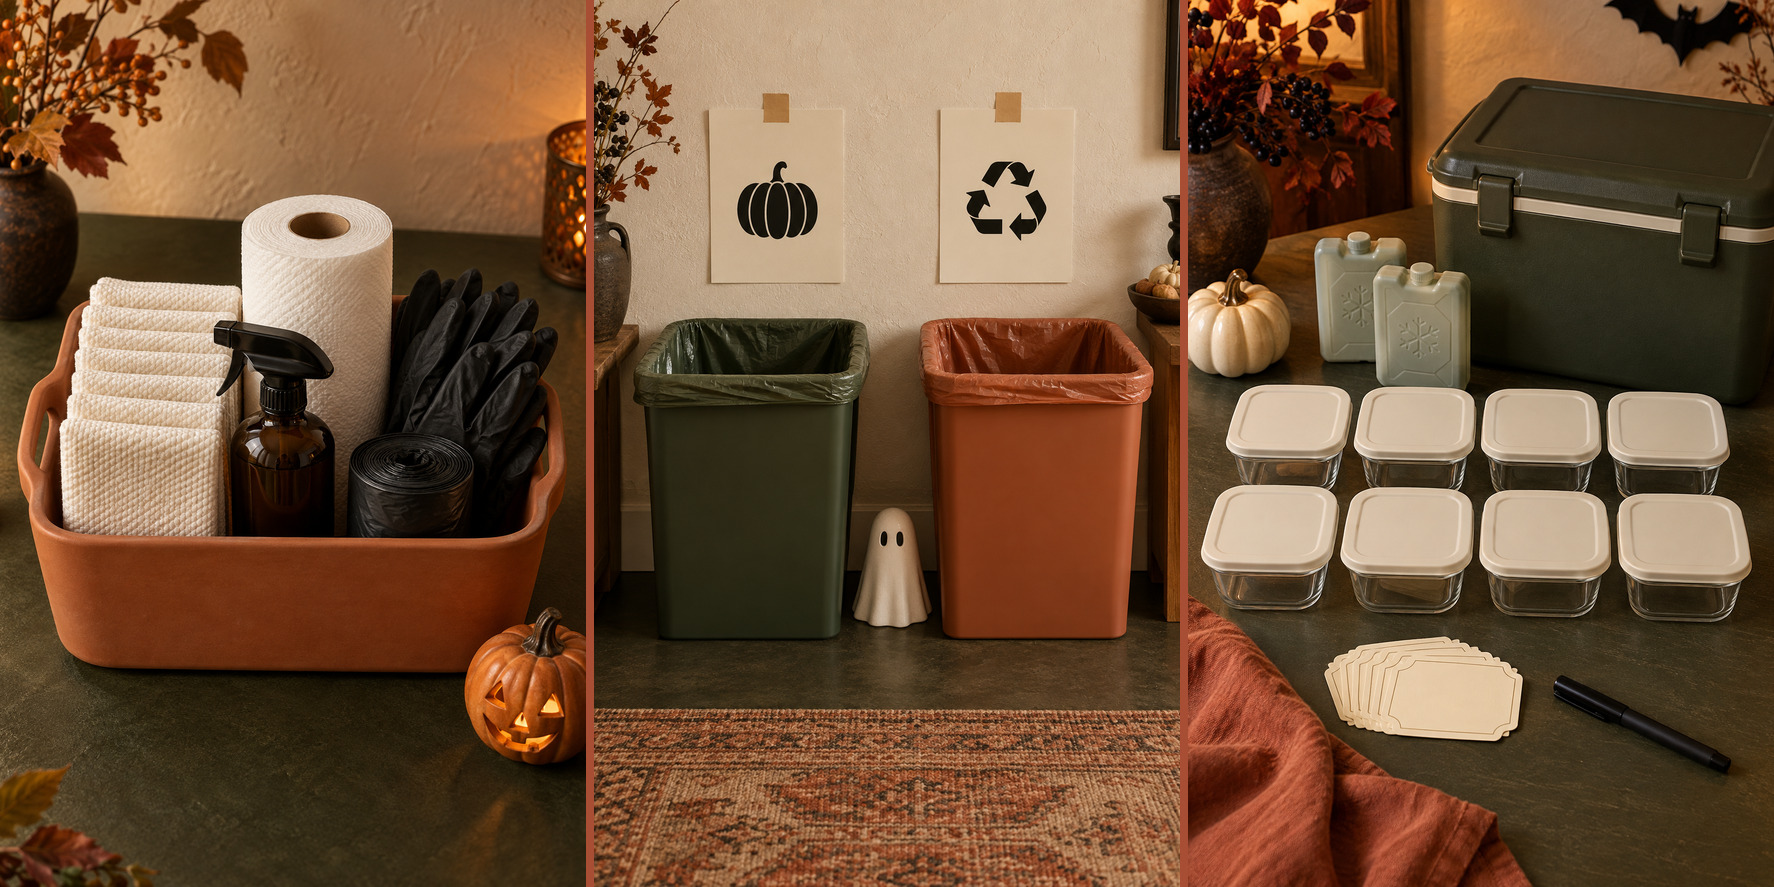
Melt the chocolate in short intervals according to its package directions and stir between each interval. Transfer it to a tall, narrow heat-safe cup so the rods can be dipped without tilting the container. Line two trays with parchment so finished wands can be moved away from the decorating table while they set.
Have guests add sprinkles immediately after dipping, while the coating is still wet. Lay every wand flat with space between them. If the room is warm, move the lined trays to a cool place after decorating rather than stacking or wrapping the rods before the coating is firm.
A simple party workflow
- Before guests arrive, cool the cupcakes completely, line the pretzel trays with parchment and arrange all three undecorated bases.
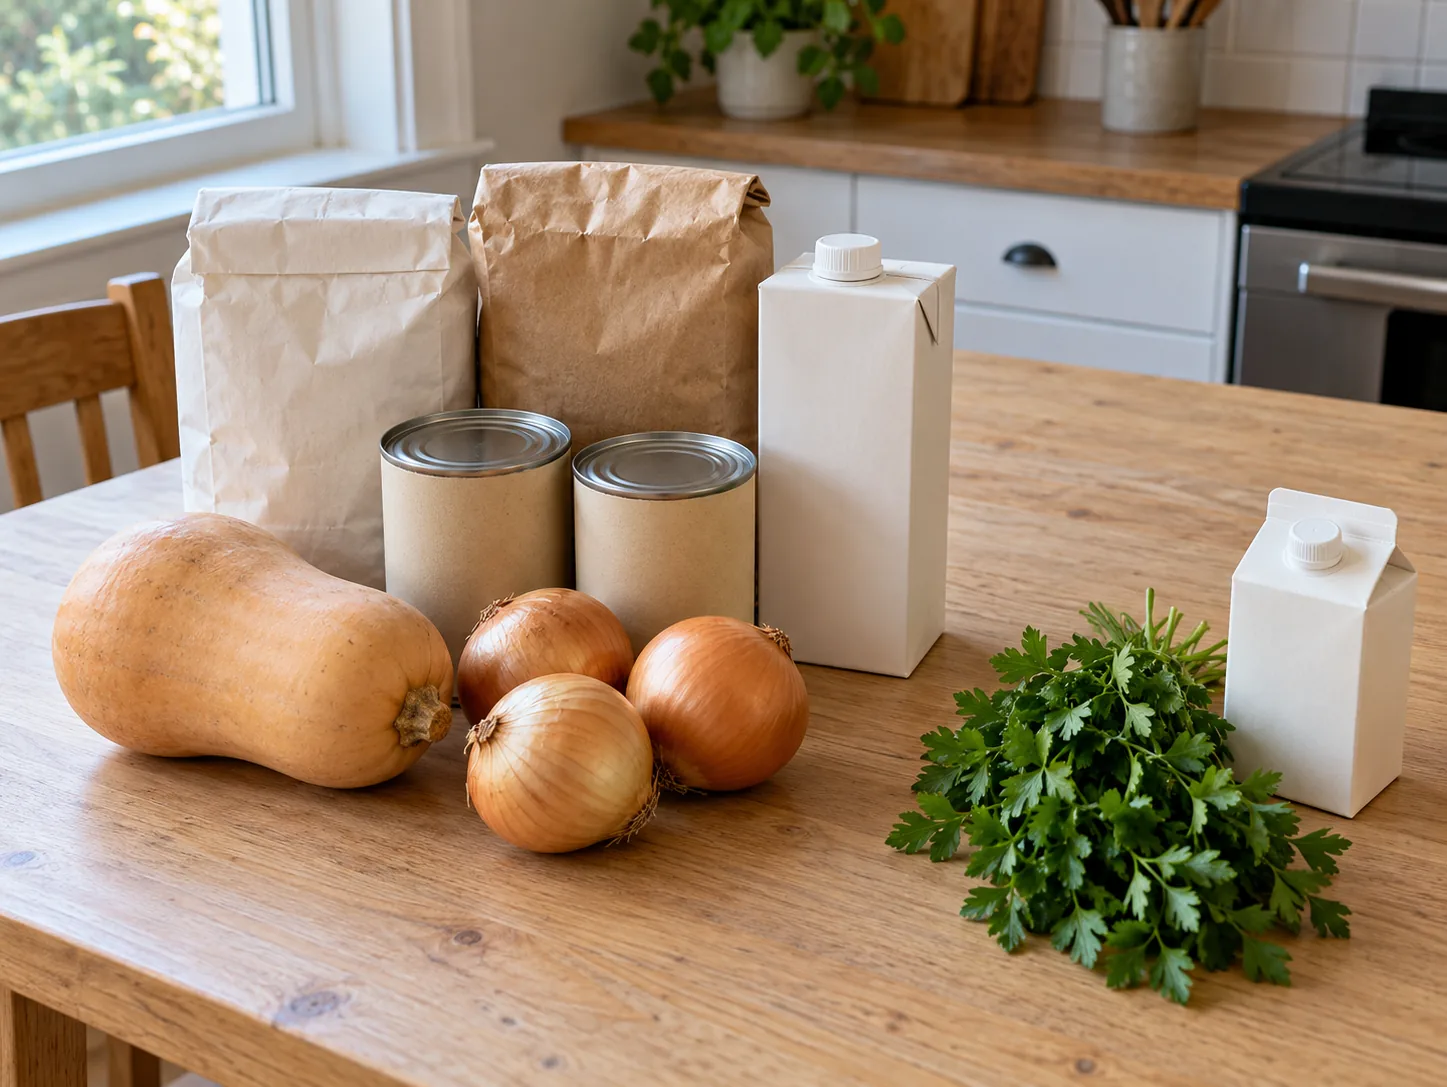
- Measure every topping into a small bowl. Keep the original packages together in a visible allergen-reference area.
- Melt the white chocolate immediately before the activity begins. Start guests at the pretzel station so those treats have time to set.
- Move finished food to a separate display table. Refill toppings with clean utensils instead of pouring over the active workspace.
For a large group, stagger the stations: pretzel wands first, cupcakes second and toaster pastries last. Each person can carry a labeled plate or parchment square from one station to the next. The labels prevent mix-ups while the icing and chocolate are still soft.
Serving and allergen notes
Toaster pastries, cupcakes, pretzels, frosting, chocolate, candy eyes and sprinkles can contain common allergens such as wheat, milk, soy or egg, and manufacturing practices vary by brand. Keep every package available and let guests or caregivers decide which station is appropriate. Do not describe a table as allergen-free unless your actual ingredients and preparation support that statement.
Use separate utensils for each topping and replace any ingredient that has been touched by a used spreader. Small decorations may not suit very young children, so supervise the table and follow all package age guidance. Store finished treats according to the labels on the pastries, cupcakes, frosting and chocolate you used.
The easiest visual plan is to repeat two frosting colors and one sprinkle mix across all three stations. Green, purple, orange and black provide a clear Halloween palette without requiring elaborate props. When the food is finished, place it on dark olive or warm terracotta trays so the white frosting and chocolate stay easy to see.