This section contains affiliate links. Fondfolk may earn a commission if you buy through them. As an Amazon Associate I earn from qualifying purchases.
A few dried orange slices can sit on a kitchen garland or finish a cup of tea. Decide which ones are for food before you begin: slices that meet glue, craft supplies or a season of handling should stay with the decorations.
Drying takes much longer than slicing. Choose an afternoon when the oven can run at a low temperature and you can check on it, rather than starting just before you need the kitchen for dinner.
Check the oven and gather the equipment
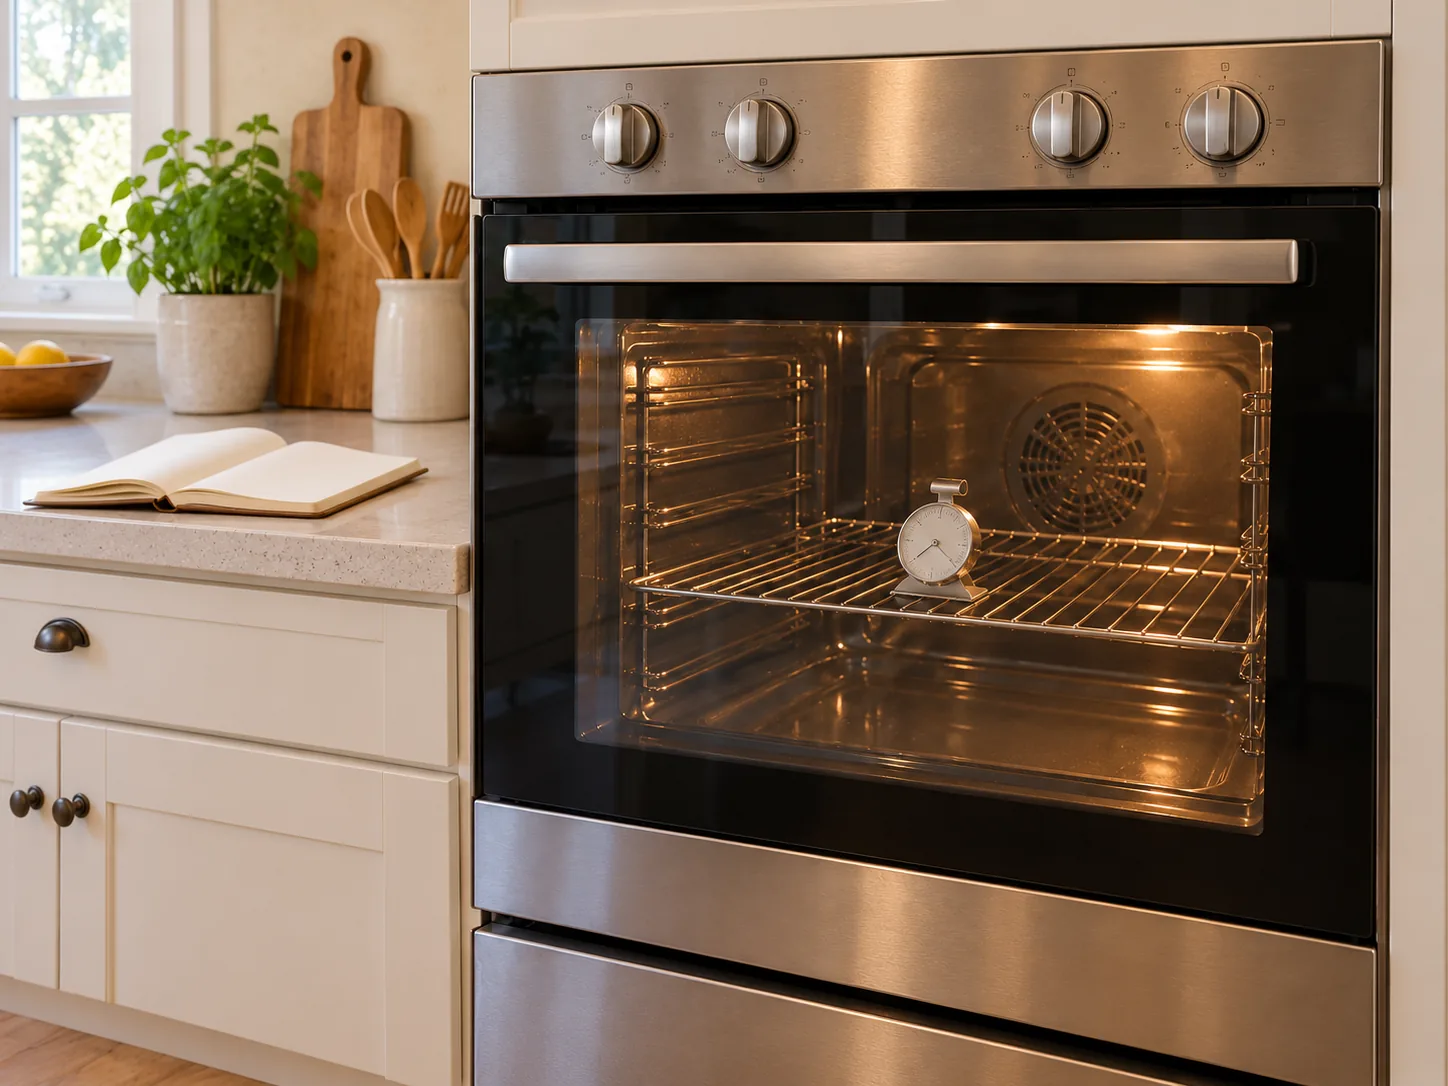
The oven method below is adapted from Sunkist's dried-citrus directions, which use 150°F, about 65°C. Check that your oven can maintain that low setting. If it cannot, use a food dehydrator's citrus instructions instead of assuming a hotter oven will give the same result.
Start with two oranges, a sharp knife, a stable board, kitchen paper, parchment and enough baking sheets to hold the slices without overlap. The number of finished slices will depend on the fruit and how thickly you cut it.
Dry the slices
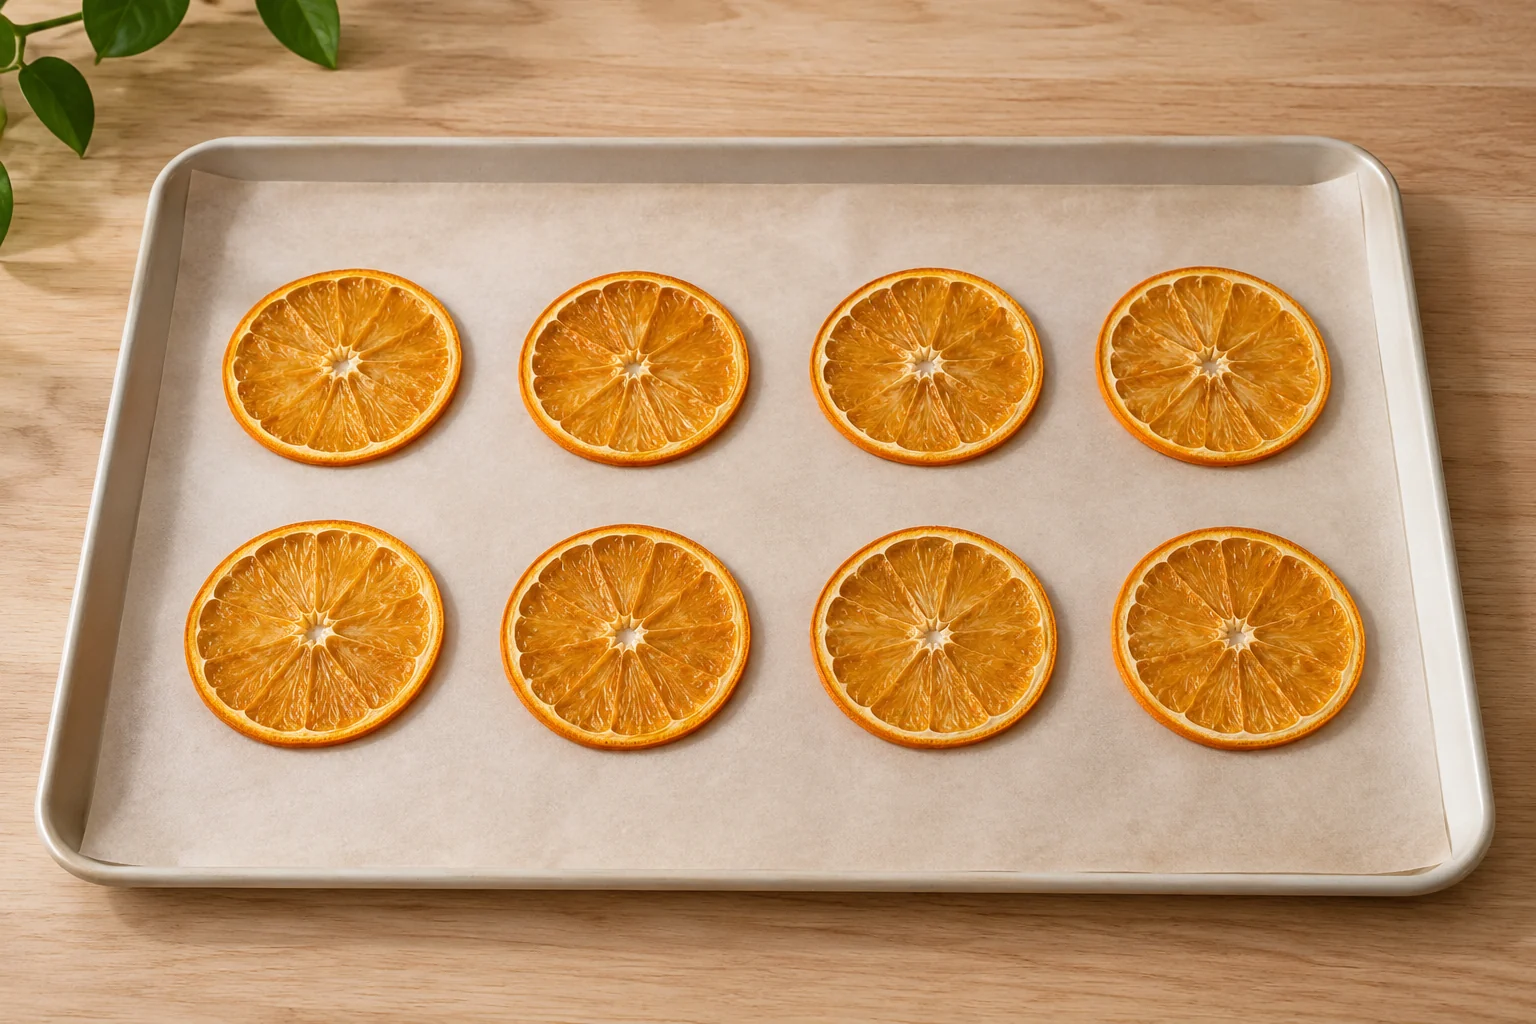
- Heat the oven to 150°F. Wash and dry the oranges, then cut them into even rounds, about 1/8 to 1/4 inch thick. Remove seeds as you work.
- Blot the cut surfaces with clean kitchen paper. Transfer the slices to parchment-lined baking sheets in one layer; the paper towels do not go in the oven.
- Dry for about three hours, then carefully turn the slices and return them to the oven. Use oven mitts when handling the trays.
- Allow roughly another three hours, checking for dryness. The slices may still bend, but should not release juice. Thickness and the oven affect the time, so six hours is a guide, not a guarantee.
- Let the slices cool completely before deciding how to store or use them.
Do not crowd a small tray to use up the fruit. Keep only as many slices as fit in one layer, and use the rest of the orange fresh or make another batch.
Choose a tray that suits the batch
I recommend the Caraway small baking sheet, which is a 9-by-13-inch sheet with a ceramic coating over a metal body. Use it for a small layer of slices and follow its care instructions. If you need more tray space, I also recommend the Caraway medium 15-by-10-inch baking sheet; keep the slices in one layer and use another batch if they still overlap. A larger baking sheet you already own may also work.
Keep food slices separate
For stored edible fruit, the National Center for Home Food Preservation recommends conditioning cooled dried fruit in loosely filled, sealed jars for 7–10 days. Shake the jars daily and check for condensation. Moisture means the fruit needs more drying; discard fruit with mold rather than trying to rescue it.
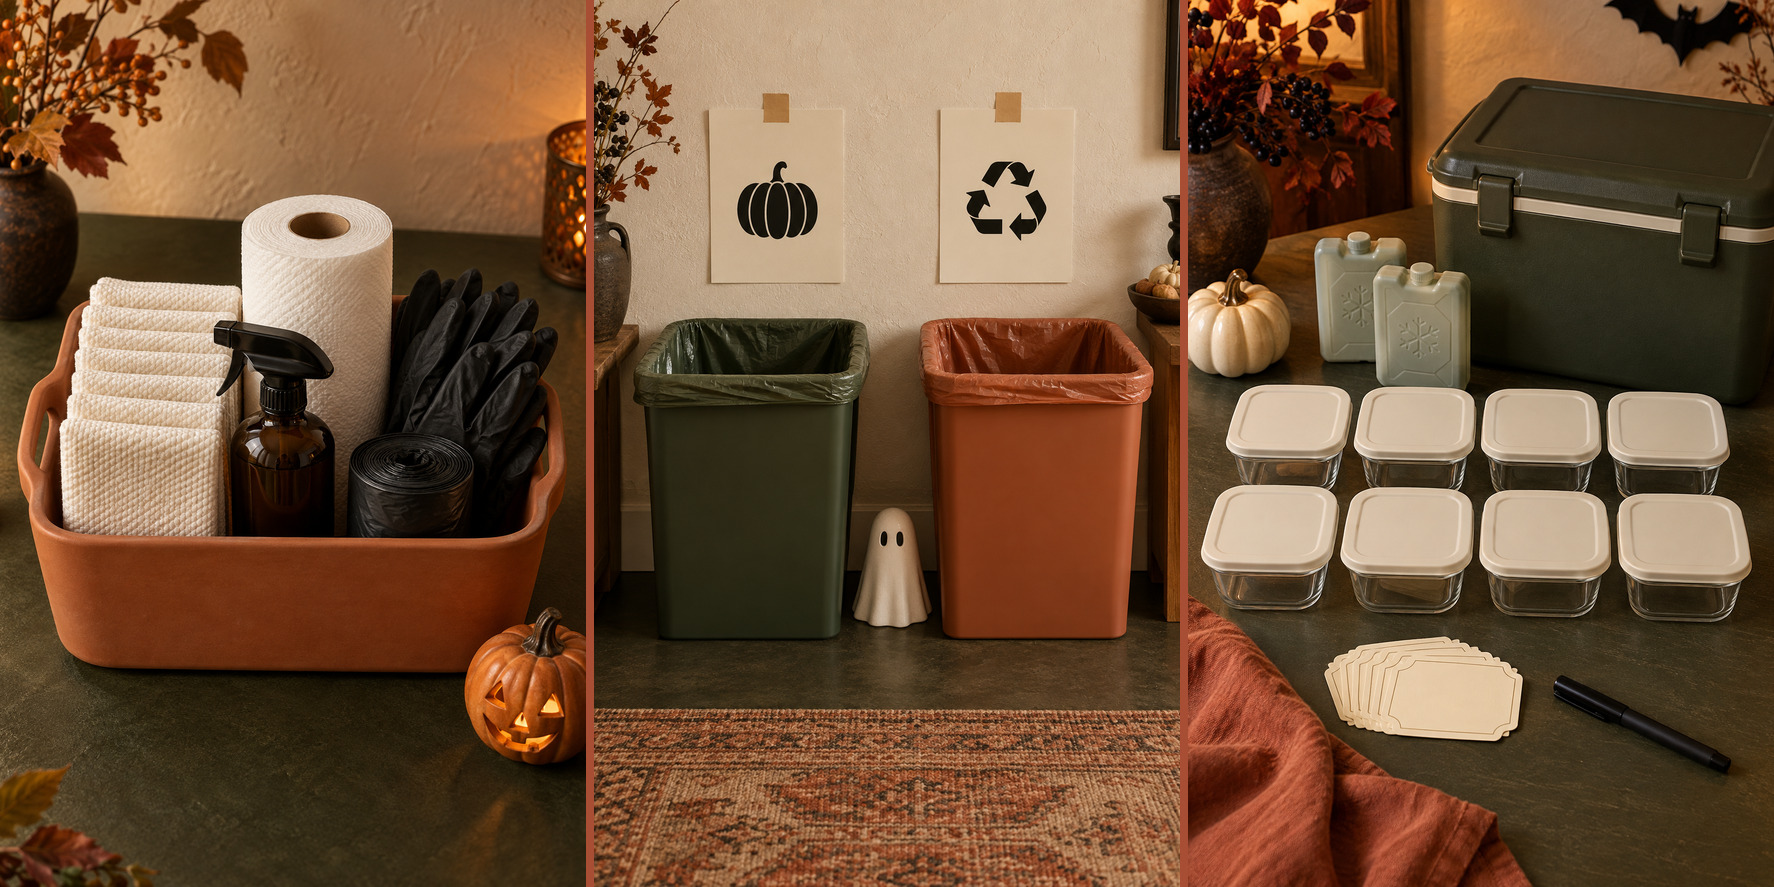
After conditioning, keep edible slices in clean, dry, airtight containers in a cool, dark place. Label the date. Dryness, storage conditions and handling vary, so a batch made at home does not come with an indefinite shelf life. Food slices can garnish tea or warm water; keep the portion intended for drinks out of the craft area.
Decide whether today is a drying day
Read the oven’s lowest-temperature setting before cutting the oranges. A six-hour drying project is not a good fit for the same afternoon as a roast that needs the only oven at a much higher temperature. Put the drying session on a day when the oven can stay at the method’s low setting and you can check it.
The slices also need time to cool before storage decisions. Do not plan to pull a warm tray from the oven and immediately seal everything in gift bags. When the batch is intended to be stored as food, allow for the conditioning period described above rather than counting oven time as the whole project.
Make a smaller batch when tray space is limited. A single even layer that you can inspect is more useful than a crowded tray with overlapping centers. Keep the thickness reasonably consistent so you are not comparing a nearly transparent slice with one twice as thick.
Use the slice, not just the timer, to judge progress
Treat the stated time as a point to inspect the food, not an automatic finish signal. Check more than the easiest-to-reach slice. If a few thicker pieces still release juice, they need further drying even when thinner pieces appear ready.
Let the fruit cool before assessing it for storage. Warm fruit and trapped moisture can create a misleading impression when you close a container too soon. Use clean, dry hands or utensils for edible pieces, and keep the finished fruit away from damp surfaces.
During conditioning, look inside the container each day as well as shaking it. The National Center for Home Food Preservation says condensation means more drying is needed. Mold is different: discard moldy dried food instead of wiping it off or trying to dry it back into use. The linked preservation guidance explains this distinction; an attractive appearance is not a storage test.
Keep a tiny batch record
Write down the fruit, approximate slice thickness, oven setting, start and finish times, and the date conditioning began. Add a short observation such as “the thicker middle slices needed longer.” These notes help you organize the next batch; they do not establish a universal drying time or a guaranteed shelf life.
Label the container clearly as food or decoration. Set aside the edible portion before anyone threads twine, uses glue or handles craft materials near it. A dried orange that has become part of a garland should stay a decoration even when it still looks clean.
For a drink station, put only a small amount of edible garnish out and keep the rest in its clean, dry container. Use a separate dish for decorative slices. That simple division is easier for guests to understand than a sign trying to explain which oranges may be eaten after they have all been arranged together.
Give the decoration batch its own container
Move the slices chosen for decorations into a clearly marked container. An adult can thread these onto twine for a short garland; keep it away from the hob, candles, children and pets. Once the slices have been used for display or handled with craft supplies, do not return them to food storage.
A few decorative slices can go behind a warm cider bar. Keep the mugs and edible garnishes in front, where everything offered with a drink is meant to be eaten.