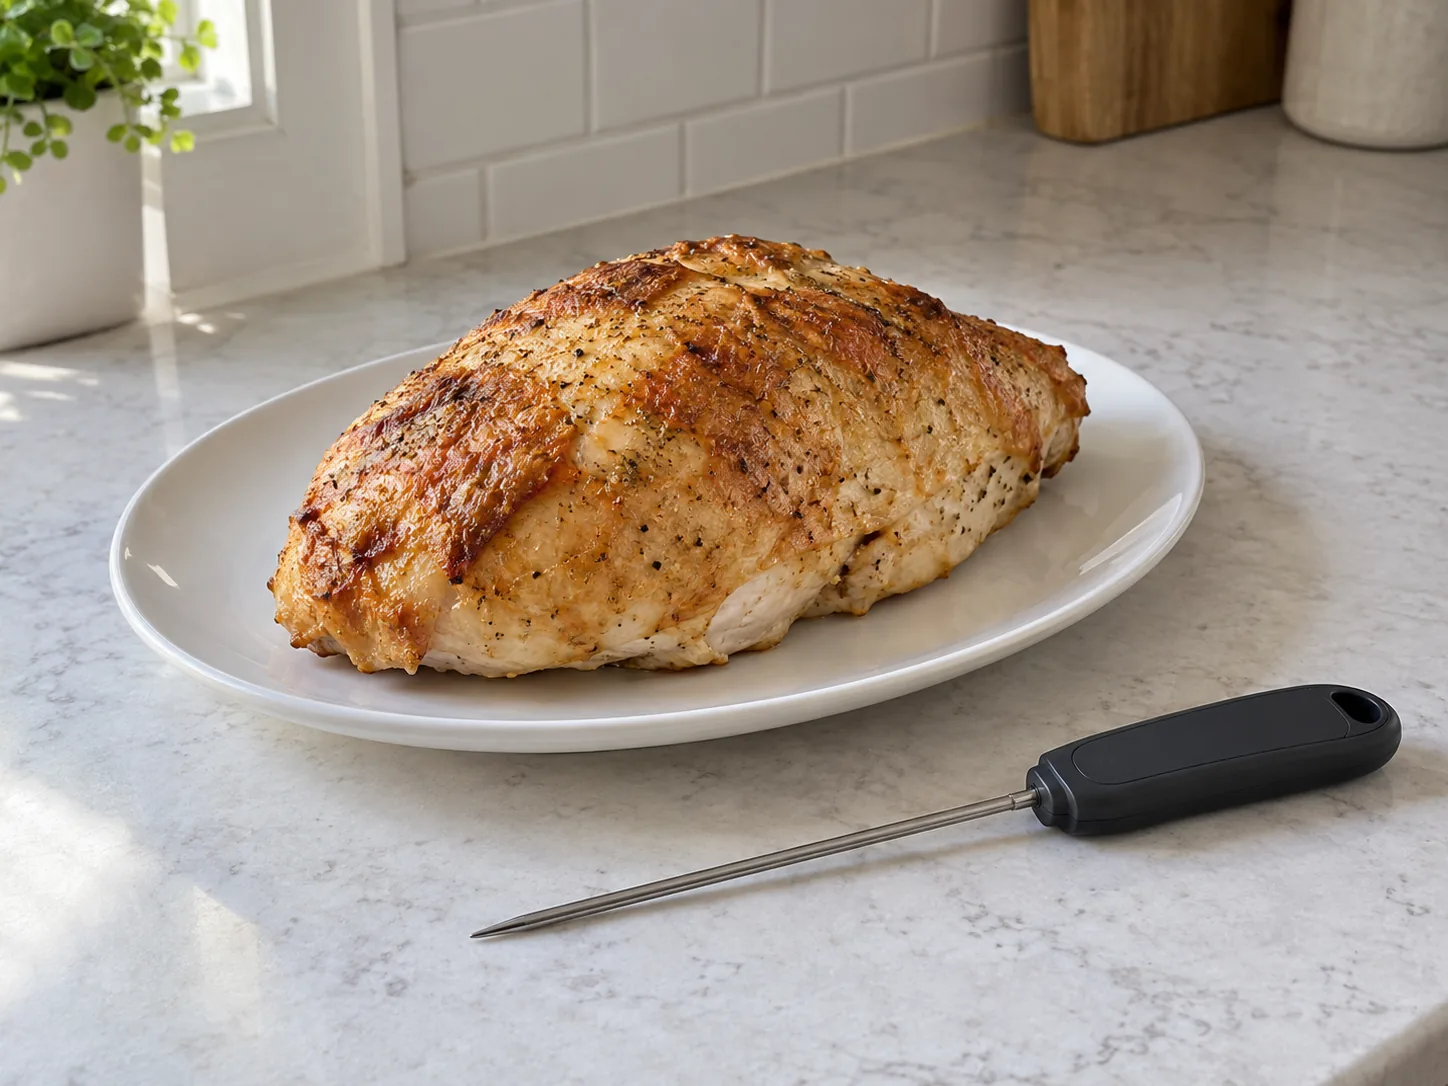
A browned chicken breast can still be cooler in its thickest part. Put the thermometer’s sensing area inside that thick center, keep it away from bone and the pan, and wait for the reading to settle. Then check another spot. The number matters only when the probe is measuring the food you need to check.
For thin pieces, approach from the side so the sensing area can sit within the meat instead of passing through it. For a whole bird, check more than the breast. A little care with placement is more useful than repeatedly measuring the same convenient patch near the surface.
This article contains affiliate links. Fondfolk may earn a commission from qualifying purchases. As an Amazon Associate I earn from qualifying purchases.
Start by knowing which thermometer you have
An instant-read thermometer is for brief checks during or near the end of cooking. Insert it, wait for a stable reading, then remove it. It is not a leave-in oven probe.
A leave-in thermometer is designed to monitor food while it cooks, subject to the manufacturer’s limits for the probe, cable and display. These limits still matter when a probe is sold for an oven or grill.
I recommend the Lavatools Javelin PRO Classic instant-read thermometer for this kind of spot check. Use the instructions supplied with your exact model to identify its sensing area, insertion depth and controls. Keep this handheld thermometer out of the oven between checks; its folding shape does not make it a leave-in device.
The sensing area is especially important. Some thermometers read near the tip; others measure along a longer section of the stem. There is no single insertion depth that works for every thermometer and every cut. USDA’s food thermometer guide distinguishes the different types and their placement requirements.
Find the thickest center, not the easiest angle
Look at the shape of the food before inserting the probe. A chicken breast usually has a thick end and a much thinner edge; the thin edge can give a different reading. Aim into the thick portion and position the full sensing area inside the meat.
Hold the thermometer still long enough for its reading to stabilize according to its instructions. If you need to change the angle or depth, reposition it and let the new reading settle. A number that flashes while the probe is moving is not the final result.
Keep the sensing area away from bone, gristle and large pockets of fat. Also avoid touching the pan, rack or plate, which would mean you are no longer measuring only the meat. If the probe meets something hard, withdraw it and approach from another angle rather than pushing through.
When readings differ, do not average them into a passing temperature. Continue cooking until the coolest locations you identify meet the relevant safe minimum, then check again. Several pieces in the same pan also need individual attention; one cooked piece does not establish that the others are ready.
Adjust the approach to the cut
| Food in front of you | Where to check | What can mislead you |
|---|---|---|
| Boneless chicken or turkey breast | Thickest center; check additional thick areas | Reading only the narrow edge |
| Whole chicken or turkey | Thickest breast and innermost thigh and wing areas | Treating a single breast reading as the whole bird’s result |
| Steak, chop or roast | Thickest part, with the sensing area surrounded by meat | Bone, fat, gristle or a shallow surface reading |
| Burger, thin chop or thin chicken piece | Enter from the side toward the center | Pushing down through the food into the pan |
| Meatloaf or casserole | Center and several other locations | Measuring only the hot edge of the dish |
For a thin piece, lifting it onto a clean spatula, such as the GIR Ultimate Turner, or a plate can make side entry easier and help keep fingers away from the heat. Treat that temporary surface as having touched undercooked food if the reading is below the target; use a clean serving plate once cooking is complete.
A large turkey deserves a deliberate pass around the bird. USDA’s turkey guidance specifies the innermost thigh and wing and the thickest breast. Avoid bone at each location. If the bird is stuffed, the center of the stuffing also needs its own 165°F check; a passing reading in the meat does not cover the filling.
For a turkey breast cooked in a slow cooker, check the thickest meat without touching the cooker or any bone. The cooking time helps you plan when to begin checking. It cannot tell you that your particular piece is ready.
Use the temperature for the food you are cooking
These are selected U.S. safe minimums from FoodSafety.gov’s cooking-temperature chart. Reach the required temperature before removing the food from its heat source, and include the stated rest where one is required.
| Food | Minimum internal temperature | Required safety rest |
|---|---|---|
| Chicken, turkey and other poultry, including ground poultry | 165°F / 74°C | No additional rest specified in this chart |
| Whole-cut beef, pork, veal or lamb steaks, chops and roasts | 145°F / 63°C | At least 3 minutes before carving or eating |
| Ground beef, pork, veal or lamb | 160°F / 71°C | No additional rest specified in this chart |
| Casseroles and reheated leftovers | 165°F / 74°C | No additional rest specified in this chart |
| Fish | 145°F / 63°C | No additional rest specified in this chart |
The distinction between a whole cut and ground meat matters: a beef steak and a beef burger do not share the same minimum. Ground turkey belongs with poultry at 165°F, rather than the 160°F ground-red-meat row.
The three-minute rest for the whole cuts listed is part of the safety instruction. Start it after the meat has reached 145°F and come off the heat; do not cut into the meat during that period. A recipe may ask for a longer rest for serving quality.
Do not remove under-temperature poultry on the assumption that it will reach 165°F later. This guide uses the standard consumer minimums, not a specialized lower-temperature cooking process. A timer can remind you to check, but it cannot replace the check.
Clean the probe between raw and cooked food
Wash the food-contact probe with hot, soapy water before and after use, following the manufacturer’s cleaning instructions and keeping water away from parts that must stay dry. Clean it after checking undercooked meat before putting it into ready-to-eat food. Wiping off a visible drop with a kitchen towel is not the same as washing it.
Keep the display and handle out of the food. For the Javelin PRO Classic, Lavatools lists splash resistance, not permission to soak the complete unit. Do not put the thermometer in a dishwasher or immerse its body unless the instructions for that exact model expressly allow it. Dry and store it as directed so its next use starts with a clean probe.
What to do when the number seems wrong
First make sure the display is showing the unit you intended. Then recheck placement: the sensing area should be inside the food, away from the pan and bone. Give the reading time to settle, and try a second suitable location.
If the thermometer still behaves unexpectedly, follow its manufacturer’s accuracy-check procedure. Lavatools provides a crushed-ice-bath check for its thermometers. Use the detailed instructions rather than dipping a probe into a glass containing a few floating ice cubes.
Checking accuracy and adjusting calibration are different actions. Only adjust a device if its own instructions provide that function. If an accuracy check falls outside the manufacturer’s stated tolerance, use another verified thermometer and contact the maker rather than mentally adding or subtracting an uncertain amount during dinner.
Keep the thermometer beside the cooking area as you work through your final dinner-timing plan. Leave time for another check and more cooking if needed. Whether the meat was dry-brined, wet-brined or simply seasoned before cooking, the same habit applies: find the right place, let the reading settle and use the target for that food.
Separate a temperature check from a timer check
A timer tells you when to look; the thermometer tells you what is happening where its sensing area is placed. Keep both jobs in the recipe plan. Set an initial check before you expect cooking to finish, then leave enough time for the food to continue if the reading is below the required minimum. A dinner invitation should not become a reason to stop checking early.
For several portions in the same pan, identify the thickest and least evenly shaped pieces before cooking. Check suitable places in more than one piece instead of assuming the easiest piece to reach represents them all. Keep raw-food tongs away from the clean plate intended for finished food.
Write down the useful observation
If a reading is unexpected, record the cut, probe position and unit along with the number. A note saying the thick end needed another check is more useful than oven too slow. The oven, starting temperature, thickness and probe placement can all affect what you observe; changing every variable at once makes the next attempt harder to interpret.
Keep the thermometer’s instructions somewhere accessible. They explain the sensing area, cleaning method, operating limits and any accuracy-check procedure for that model. A display that changes quickly is not a reason to guess how deep its tip should go. If the device is unreliable, use a functioning suitable thermometer rather than substituting surface color for the safety check.