Plan a small decorating table
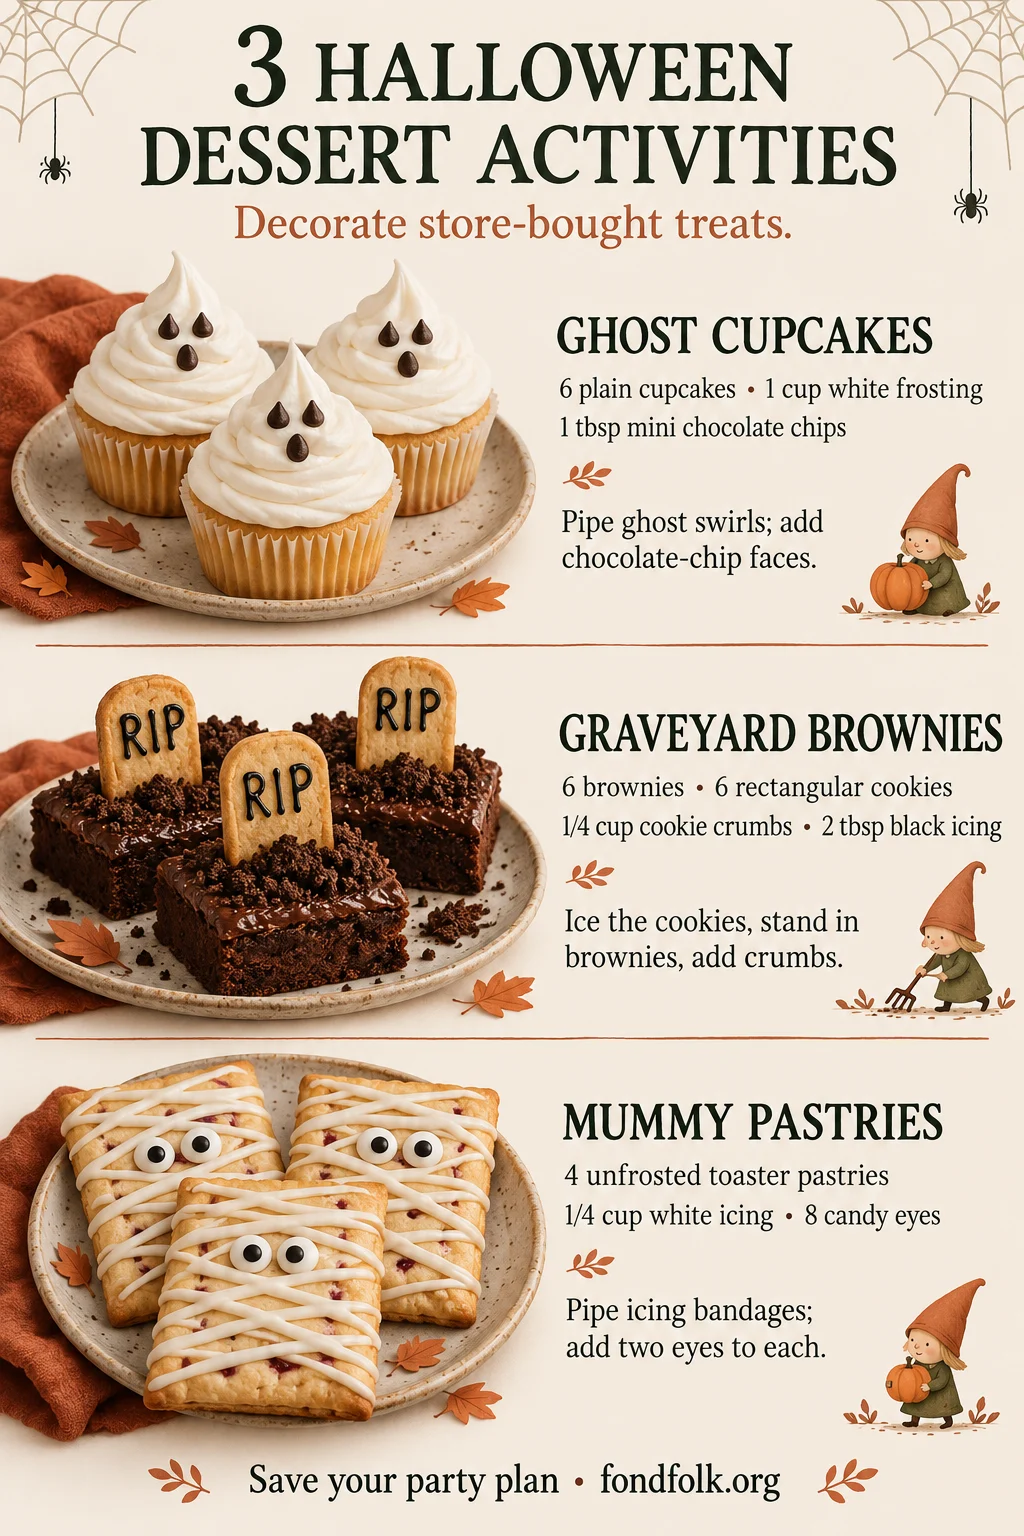
The quantities below make 6 ghost cupcakes, 6 graveyard brownies and 4 mummy pastries: 16 individual treats in total. That is a mixed tray, not a promise of 16 full dessert servings; guests may want to try more than one. Choose one activity for a small gathering or set up all three with a tray for each finished design.
Alongside the ingredients, put out food-safe piping bags or zip-top food bags, scissors for an adult to snip the corners, small spoons, blunt spreading knives and baking parchment. Choose ready-to-eat, fully baked bases. If your toaster pastries require heating, follow their packet instructions and let them cool completely before decorating.
1. Ghost cupcakes
Makes 6. A broad white swirl and a tiny chocolate face create the ghost shape without fondant or special cutters.
- 6 plain cupcakes
- 1 cup white frosting
- 1 tbsp mini chocolate chips
- Spoon the frosting into a piping bag fitted with a wide round opening, or a food bag with one corner snipped off.
- Divide the frosting between the six cupcakes. Start with a wide circle, pipe a smaller circle above it and finish with a little point.
- Press in chocolate chips for eyes and mouths while the frosting is soft. Keep any remaining chips in a small bowl for extra expressions.
Make one example and let the remaining faces vary. A slightly crooked swirl still reads as a ghost. If the frosting slumps, stop piping and cool it according to its label rather than adding more and more frosting to the same cupcake.
2. Graveyard brownies
Makes 6. Choose brownies thick enough to hold the bottom edge of a cookie; small, thin brownie crisps will not give the tombstone enough support.
- 6 brownies
- 6 rectangular cookies
- 1/4 cup cookie crumbs
- 2 tbsp black icing
- Pipe a short inscription, a cross or a simple squiggle on each cookie, using part of the black icing. Leave space at the bottom to insert the cookie.
- Gently press the lower edge of one cookie into each brownie. An adult can make a shallow starter slit with a blunt knife if a firm brownie resists.
- Use small dots of the remaining icing to help the crumbs cling. Divide the cookie crumbs over the six brownies, concentrating them around the cookie bases.
Decorate the cookies flat before standing them upright, so wet letters do not slide. Keep the finished brownies on their serving tray; repeatedly moving them can loosen the cookie tombstones.
3. Mummy toaster pastries
Makes 4. Unfrosted pastries give the white bandages a clear background, while the filling is already inside.
- 4 unfrosted toaster pastries
- 1/4 cup white icing
- 8 candy eyes
- Lay the cooled, ready-to-eat pastries on parchment. Put the icing in a food-safe piping bag with a small opening.
- Divide the icing between the four pastries, piping thin diagonal ribbons across each one. Leave a small gap for the face.
- Attach two candy eyes to each pastry with small dots of icing. Leave flat until the icing is firm enough to move without smearing.
One tablespoon of icing per pastry is the average allowance. Thin ribbons look more like bandages and are easier to eat than a heavy coating. If you prefer a different expression, change the eye spacing rather than adding more ingredients.
Serve the treats without losing the activity space
Keep finished treats at one end of the table and decorating bowls at the other. Leave ingredient packaging available so guests can check what is in the bases, frosting and decorations. For a smaller party, make one project first and keep the other ingredients packed away until needed.
Follow the storage instructions for the bakery items and icing you bought. Keep any ingredients or finished treats that require refrigeration chilled until serving, and bring out smaller trays as needed. Cover leftovers in a single layer so faces and icing ribbons do not stick together.
Finish the room with web placemats, monster pockets and a paper pumpkin, then choose a game from our pumpkin bowling, monster toss and mystery-bag plan.