Match the cookie to the chocolate kiss
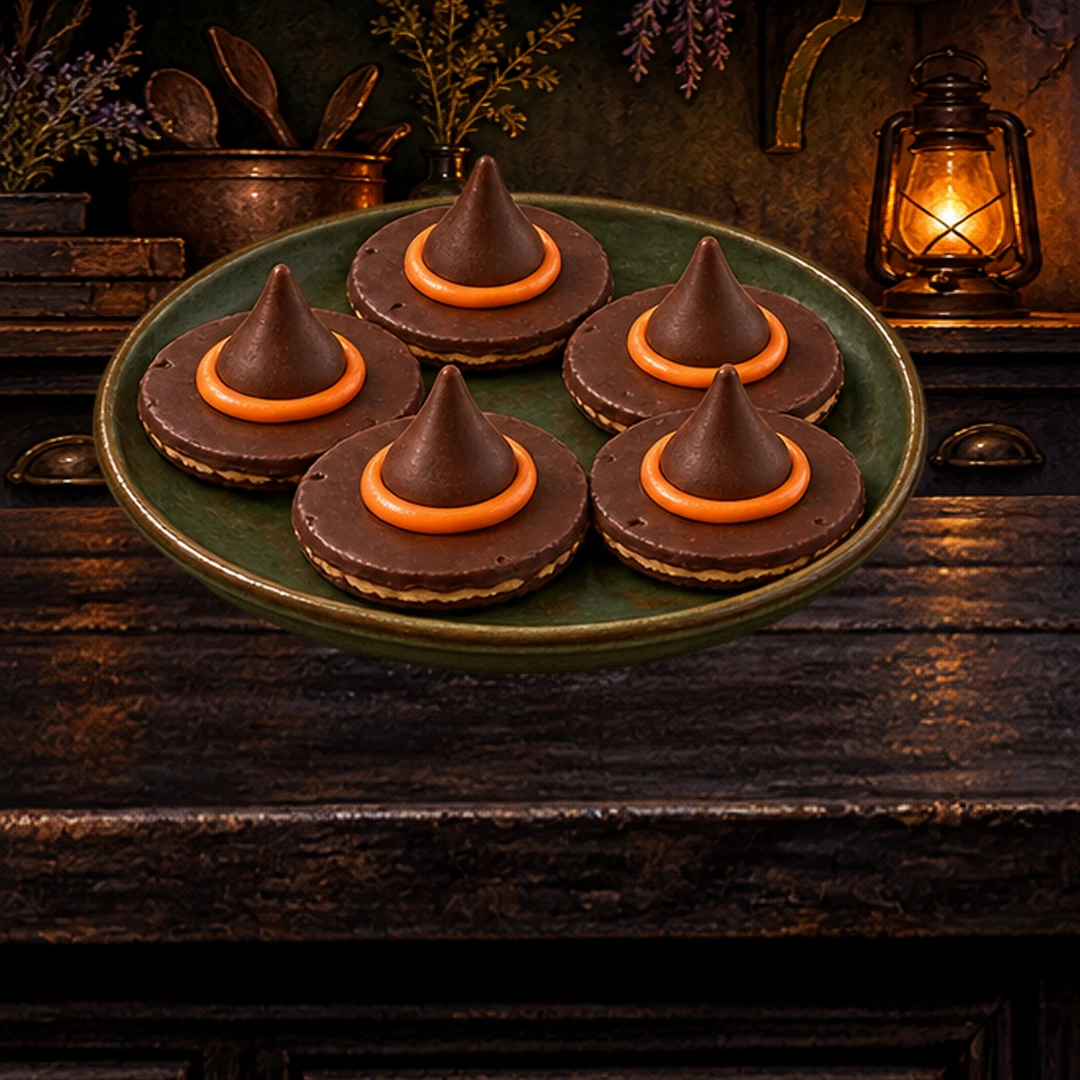
Choose round chocolate-covered cookies wide enough to leave a visible brim around the kiss. Lay one kiss on an un-iced cookie first to check the proportions. Use the chocolate-covered surface as the top so the orange icing ring stands out against it. Unwrap every kiss before filling the piping bag.
Measure the icing before you start. A quarter cup is twelve teaspoons, so the recipe’s twelve cookies need a little less than a teaspoon each if you want a reserve for repairs. Pipe a modest ring, then add only enough extra icing to fill a visible gap. A thick mound can make the kiss slide.
Keep the assembly flat
A small piping bag gives more control than spooning icing onto the cookie. If using a clean food bag, push the icing into one corner and snip only a tiny opening. Test the line on the tray or a spare piece of parchment before working on the first cookie.
Press each kiss down gently while keeping the cookie level. Let the visible orange line form the hat band. Leave the cookies flat for the five-minute settling time before moving them. This is an assembly project; there is no need to heat the cookies or melt their coating.
Transport and store without crushing the hats
Arrange the finished hats in one layer with space above the points. Stacking can break off the kisses even if the icing has firmed. Use a rigid container and keep it level during transport. Follow the decorating icing’s label if it requires refrigeration.
For six cookies, halve every ingredient. Check both the cookies and the kisses for allergens such as milk, wheat or soy; the chocolate coating does not identify what is inside. These firm sweets are not a suitable presentation for every age, so choose an alternative snack for anyone who cannot safely manage them.